How to Add & Remove Liquidity
An exchange is a place to buy/sell tokens, but in order to do that, it needs one basic thing: tokens (otherwise known as liquidity). Traditionally, centralized exchanges, like Coinbase, provide and manage this liquidity. On Nevellus, the liquidity is provided voluntarily by its users. In return, Nevellus rewards those who provide temporary access to their tokens with a share of the 0.25% fee charged to traders of the respective token pair, proportional to the amount of liquidity they added to the pool. This option could be a great opportunity to earn extra yields on tokens that are just sitting in your wallet.
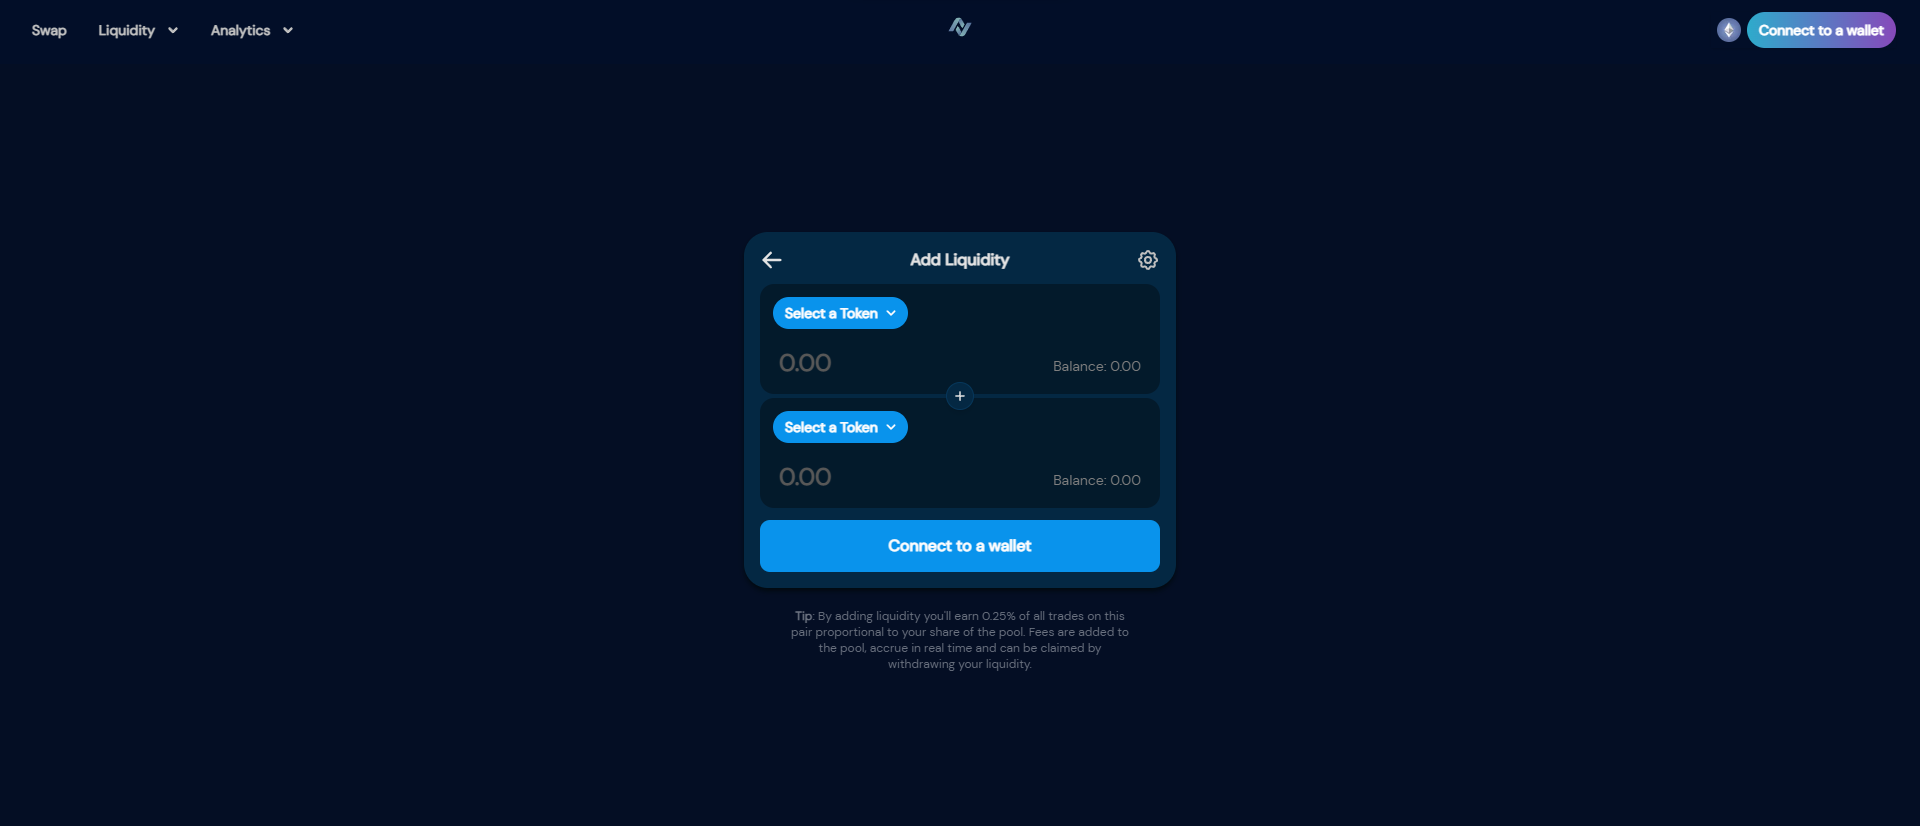
Liquidity Provider
Step 1. Head to Nevellus Home and Launch App.
Step 2. Connect your wallet to Nevellus (make sure you have some Ethereum to cover gas fees!)
Step 3. Click the Liquidity tab and then hit Add, which will bring you to the screen above. Then, simply select the input tokens to create your pool (please note that the two token amounts need to match each other in monetary value, e.g. NVLS $100 – ETH $100)
Step 4. Approve Nevellus to access the tokens.
Step 5. Click Confirm Adding Liquidity and you’re all set!
Impermanent Loss (IL) Risk
Impermanent loss has been described as the difference in the value of your tokens value in a liquidity pool versus the value of your tokens if you had held them individually in your wallet. If one of your tokens skyrockets on traditional markets, your assets on Nevellus do not automatically update to match. At this “time lag” stage, there is an opportunity for traders to buy your assets in the pool at a lower price and resell on a centralized exchange at a higher price, realizing an arbitrage gain. That gain could have been yours! Instead, this stolen opportunity can be classified as your impermanent loss. This is one of the risks you take as a Liquidity Provider (LP).
The best-case scenario for an LP is when there are many transactions in the pool and the price of each token does not have significant price fluctuations. The more transactions, the more share of the transaction fees you will earn. So, if you are going to become an LP and earn some yields, it is best to consider the popularity of the pool and your confidence in the price’s stability.
Removing Liquidity
Step 1. Head to Nevellus Home and Launch App.
Step 2. Connect your wallet to Nevellus (Make sure you have some Ethereum to cover gas fees!)
Step 3. Click the Liquidity tab and then click Pool, which will bring you to an overview of your current positions
Step 4. Select the liquidity pair you wish to withdraw from Nevellus from the list.
Step 5. Click Remove, enter the percentage of your position that you want to withdraw and click Approve
Step 6. Approve the transaction fee in your wallet and you're all set!
There is no vesting period for these earnings and when you remove liquidity, you will also receive your LP earnings!